
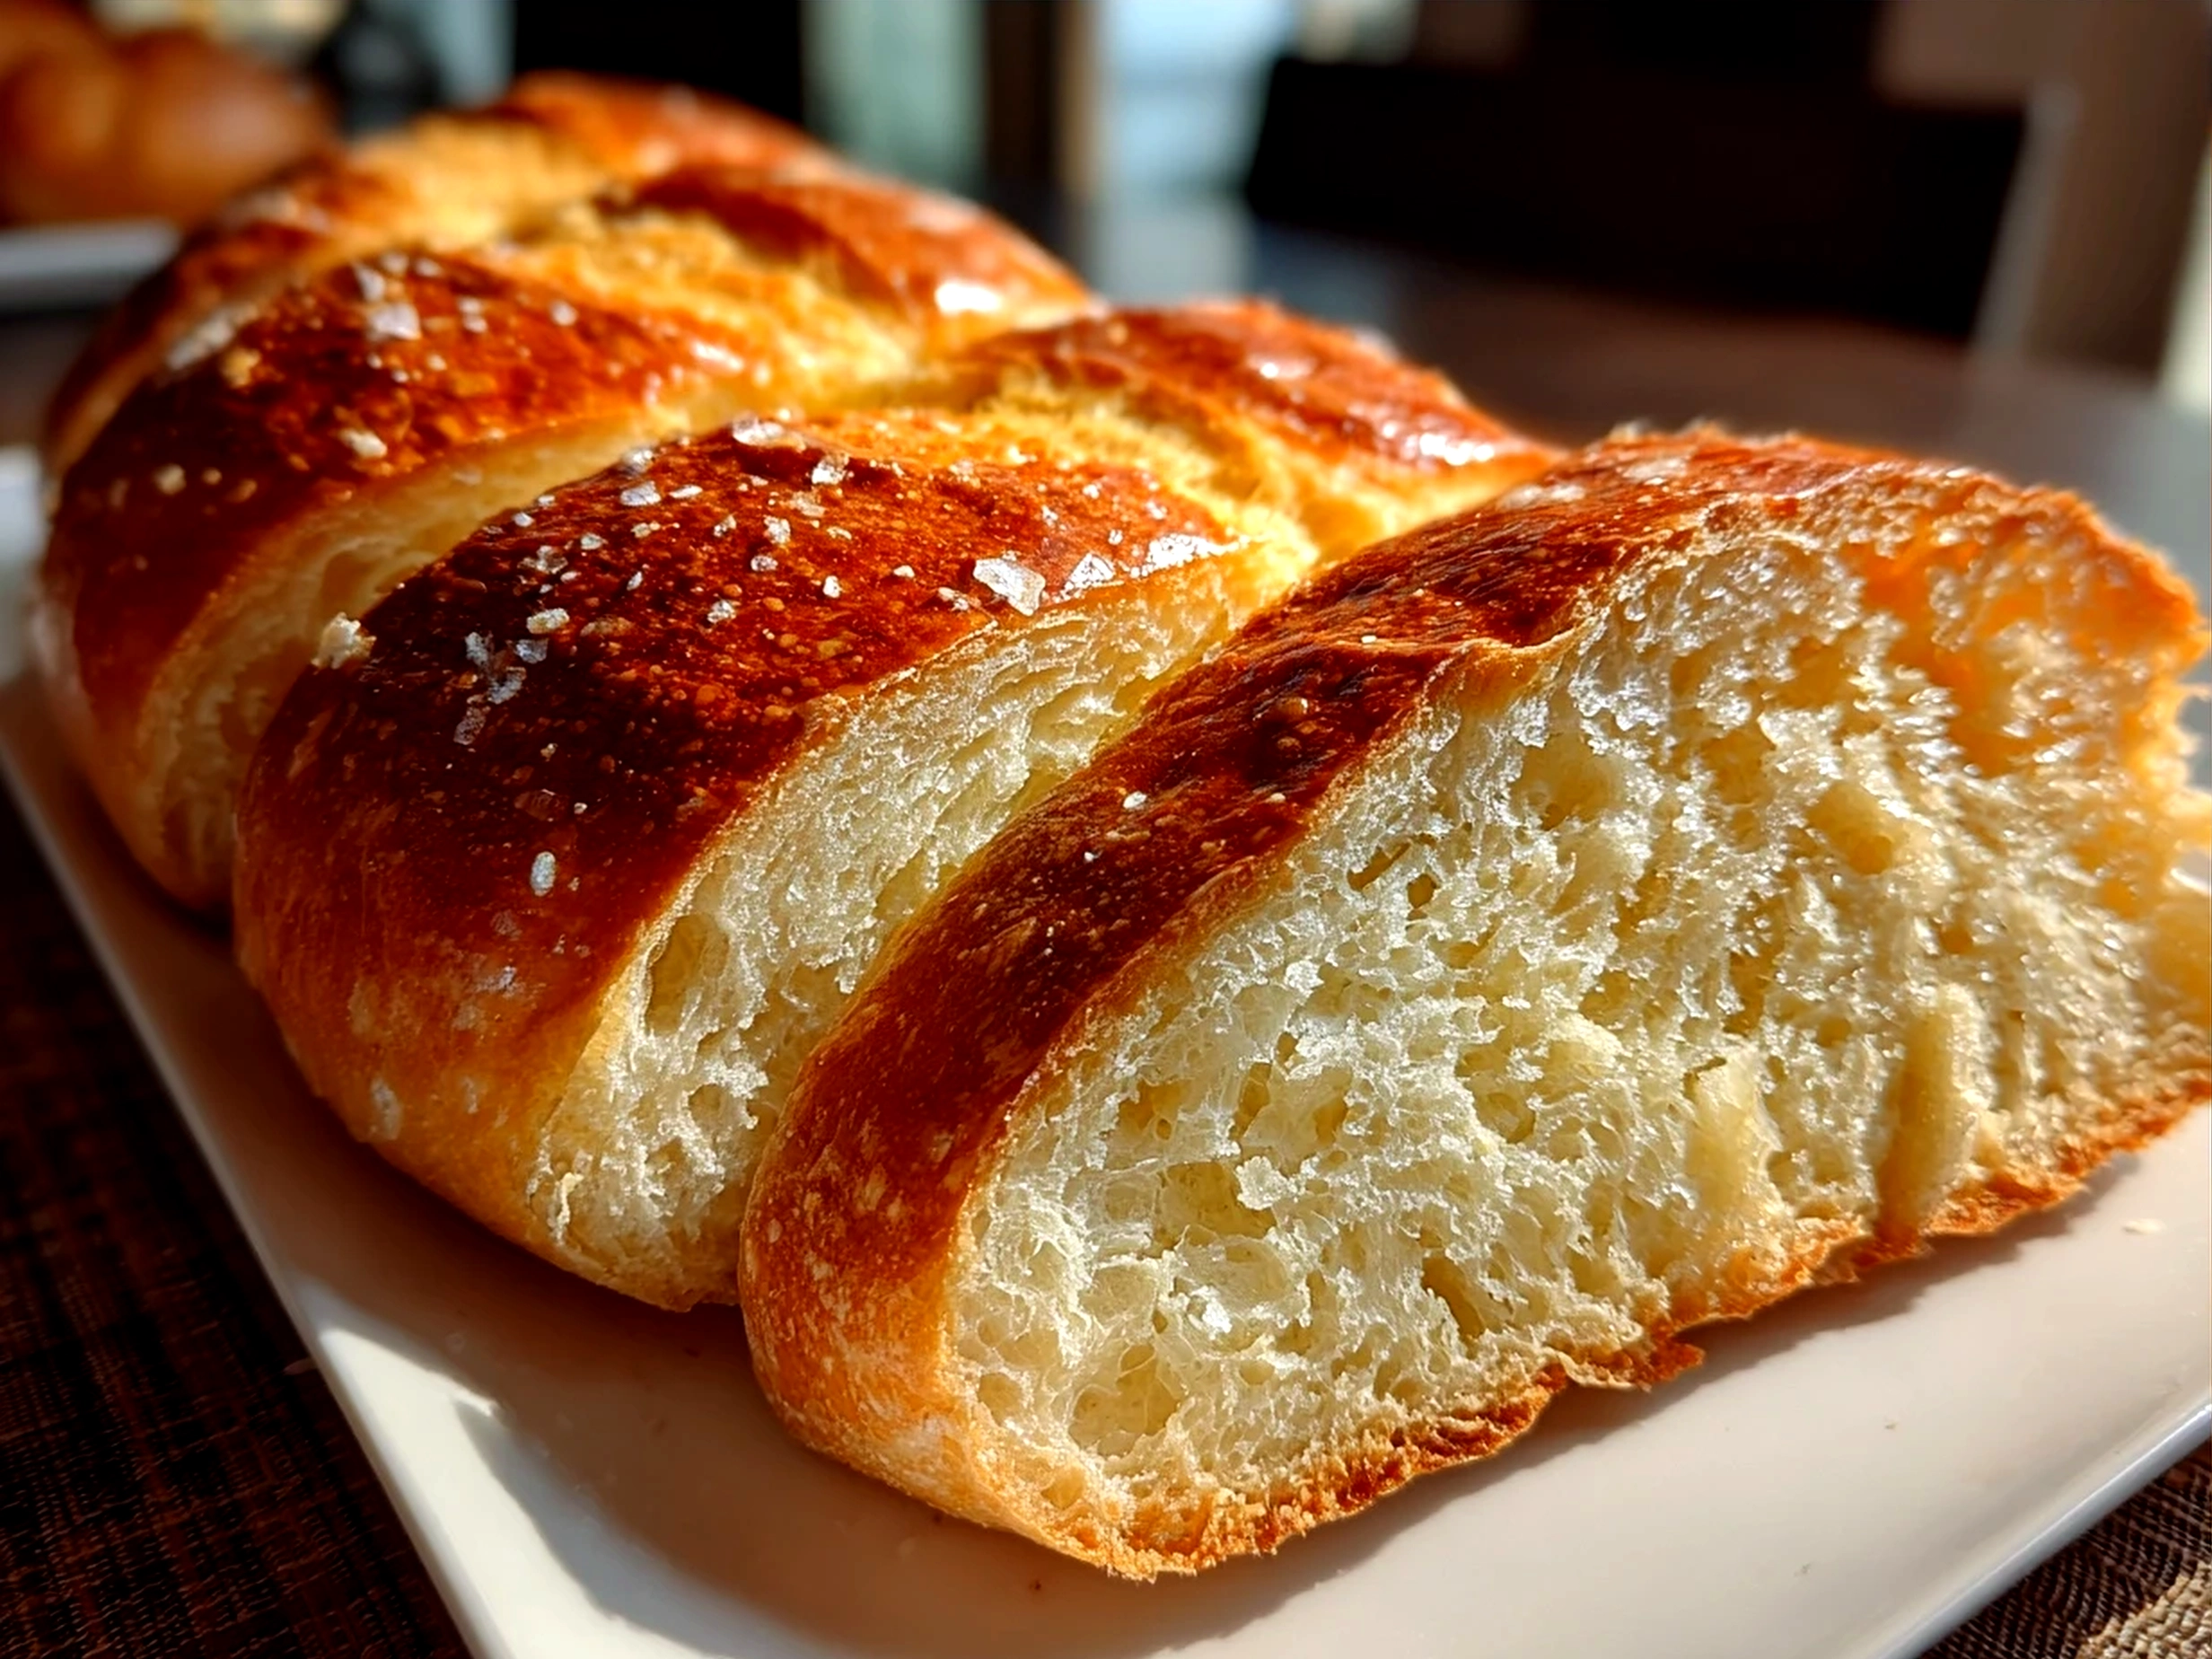
There’s something about Homemade Bread that just feels like a warm hug from your kitchen. I still remember the first time I made it when my family was gathered around the table on a chilly evening. Dinner was missing that special touch, and this simple Homemade Bread saved the meal. The smell filling the house, the crusty outside, and soft inside — it all made my family light up. That moment showed me homemade bread isn’t just food; it’s a way to bring people closer.
In busy weeknights or holiday dinners, Homemade Bread stands out as a reliable recipe you can trust. It’s straightforward enough for any home cook but tasty enough for even the toughest bread lover. Good bread can turn an ordinary meal into something memorable. The ingredients are familiar, usually what you already have, so no special trips to the store needed. That’s why I make this bread regularly—it just works, every time.
If you have a few simple essentials and a little patience for yeast fermentation, you’ll find this Homemade Bread recipe a comforting staple. Plus, it’s the kind of food that’s forgiving. Maybe your dough looks different from mine or took a bit longer to rise—that’s okay. It will still come together into something delicious.
If you’re looking for a Homemade Bread recipe that’s practical, dependable, and tastes like home, I’m excited to share it with you. Let’s get started with what you’ll need and how to make it come to life. You’ll see just how satisfying bread baking at home can be.
What You’ll Need:
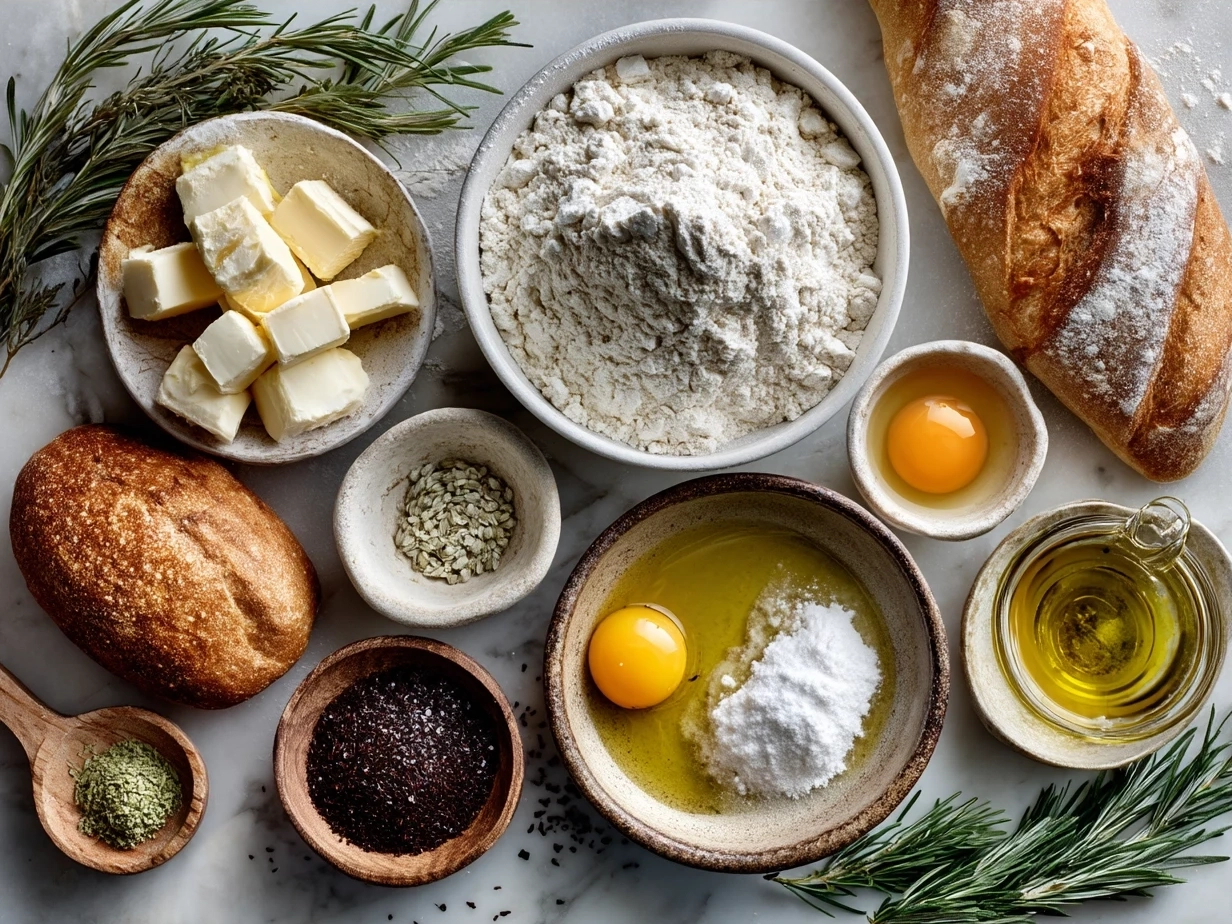
3 ¾ cups (450g) all-purpose flour
I prefer all-purpose flour for a reliable, soft crumb. You can swap half of this with bread flour for more chew in your Homemade Bread. You’ll find this in the usual baking aisle.
1 packet (2 ¼ teaspoons) active dry yeast
Yeast is the star for fermentation. No worries if you don’t have active dry yeast—I sometimes use instant yeast for an easy mix-in.
1 ½ teaspoons salt
Salt balances flavor. If you want a little less, 1 ¼ teaspoons works too, but don’t skip it—your bread will taste flat.
1 ½ cups (360ml) warm water
Warm water wakes up your yeast. Around 100-110°F is perfect. Too hot, and you risk killing the yeast; too cold, and it won’t activate well.
1 tablespoon sugar or honey
This helps the yeast feed and adds slight sweetness. I often use honey for a subtle flavor twist.
2 tablespoons olive oil (optional)
I add oil for softness and a bit of richness, but you can leave it out if you prefer a leaner artisan bread.
This Homemade Bread keeps costs reasonable because most ingredients are pantry staples. Buying yeast in bulk can save money, and flour lasts a long time. Extra Homemade Bread can be wrapped tightly and frozen for up to three months. Just thaw it overnight on your counter or briefly warm in the oven before serving.
A handy prep shortcut is mixing dry ingredients ahead and storing them in an airtight container—just add water and yeast when you’re ready to bake. I also like to sift flour to keep my bread dough light, but you can skip this step for quick results.
Let’s Make It Together:
1. Activate Your Yeast
In a small bowl, stir together warm water, sugar, and yeast. Let it sit for about 5 to 10 minutes until foamy. This step ensures your yeast fermentation kicks off. If it doesn’t foam, your yeast might be old, so swap it out before continuing.
2. Mix Dry Ingredients
In a large mixing bowl, combine the flour and salt. Stir well so everything is evenly distributed.
3. Make Your Bread Dough
Pour the foamy yeast mixture and olive oil into the flour mixture. Using a wooden spoon or your hands, mix until all the flour is absorbed and a shaggy bread dough forms. Don’t worry if it feels sticky; this is normal.
4. Knead Bread the Right Way
Flour your surface lightly and knead your bread dough for about 8-10 minutes. You want the dough smooth and elastic but not tough. Kneading bread helps develop gluten, which gives the structure you see in artisan bread. If it sticks a lot, sprinkle a little more flour but keep the dough moist.
5. First Rise
Place your dough in a large greased bowl, cover with a clean towel, and let it rise in a warm spot for about 1 to 1 ½ hours—or until doubled in size. Watching your dough grow is a little magic from yeast fermentation.
6. Shape Your Bread
Punch down the dough gently to release air. Shape it into a loaf by folding the edges in until tight. Place the shaped bread on a parchment-lined baking sheet or greased pan.
7. Second Rise
Cover the shaped dough and allow it to rise again for 30 to 45 minutes. This builds a light texture inside your Homemade Bread.
8. Preheat Your Oven and Bake
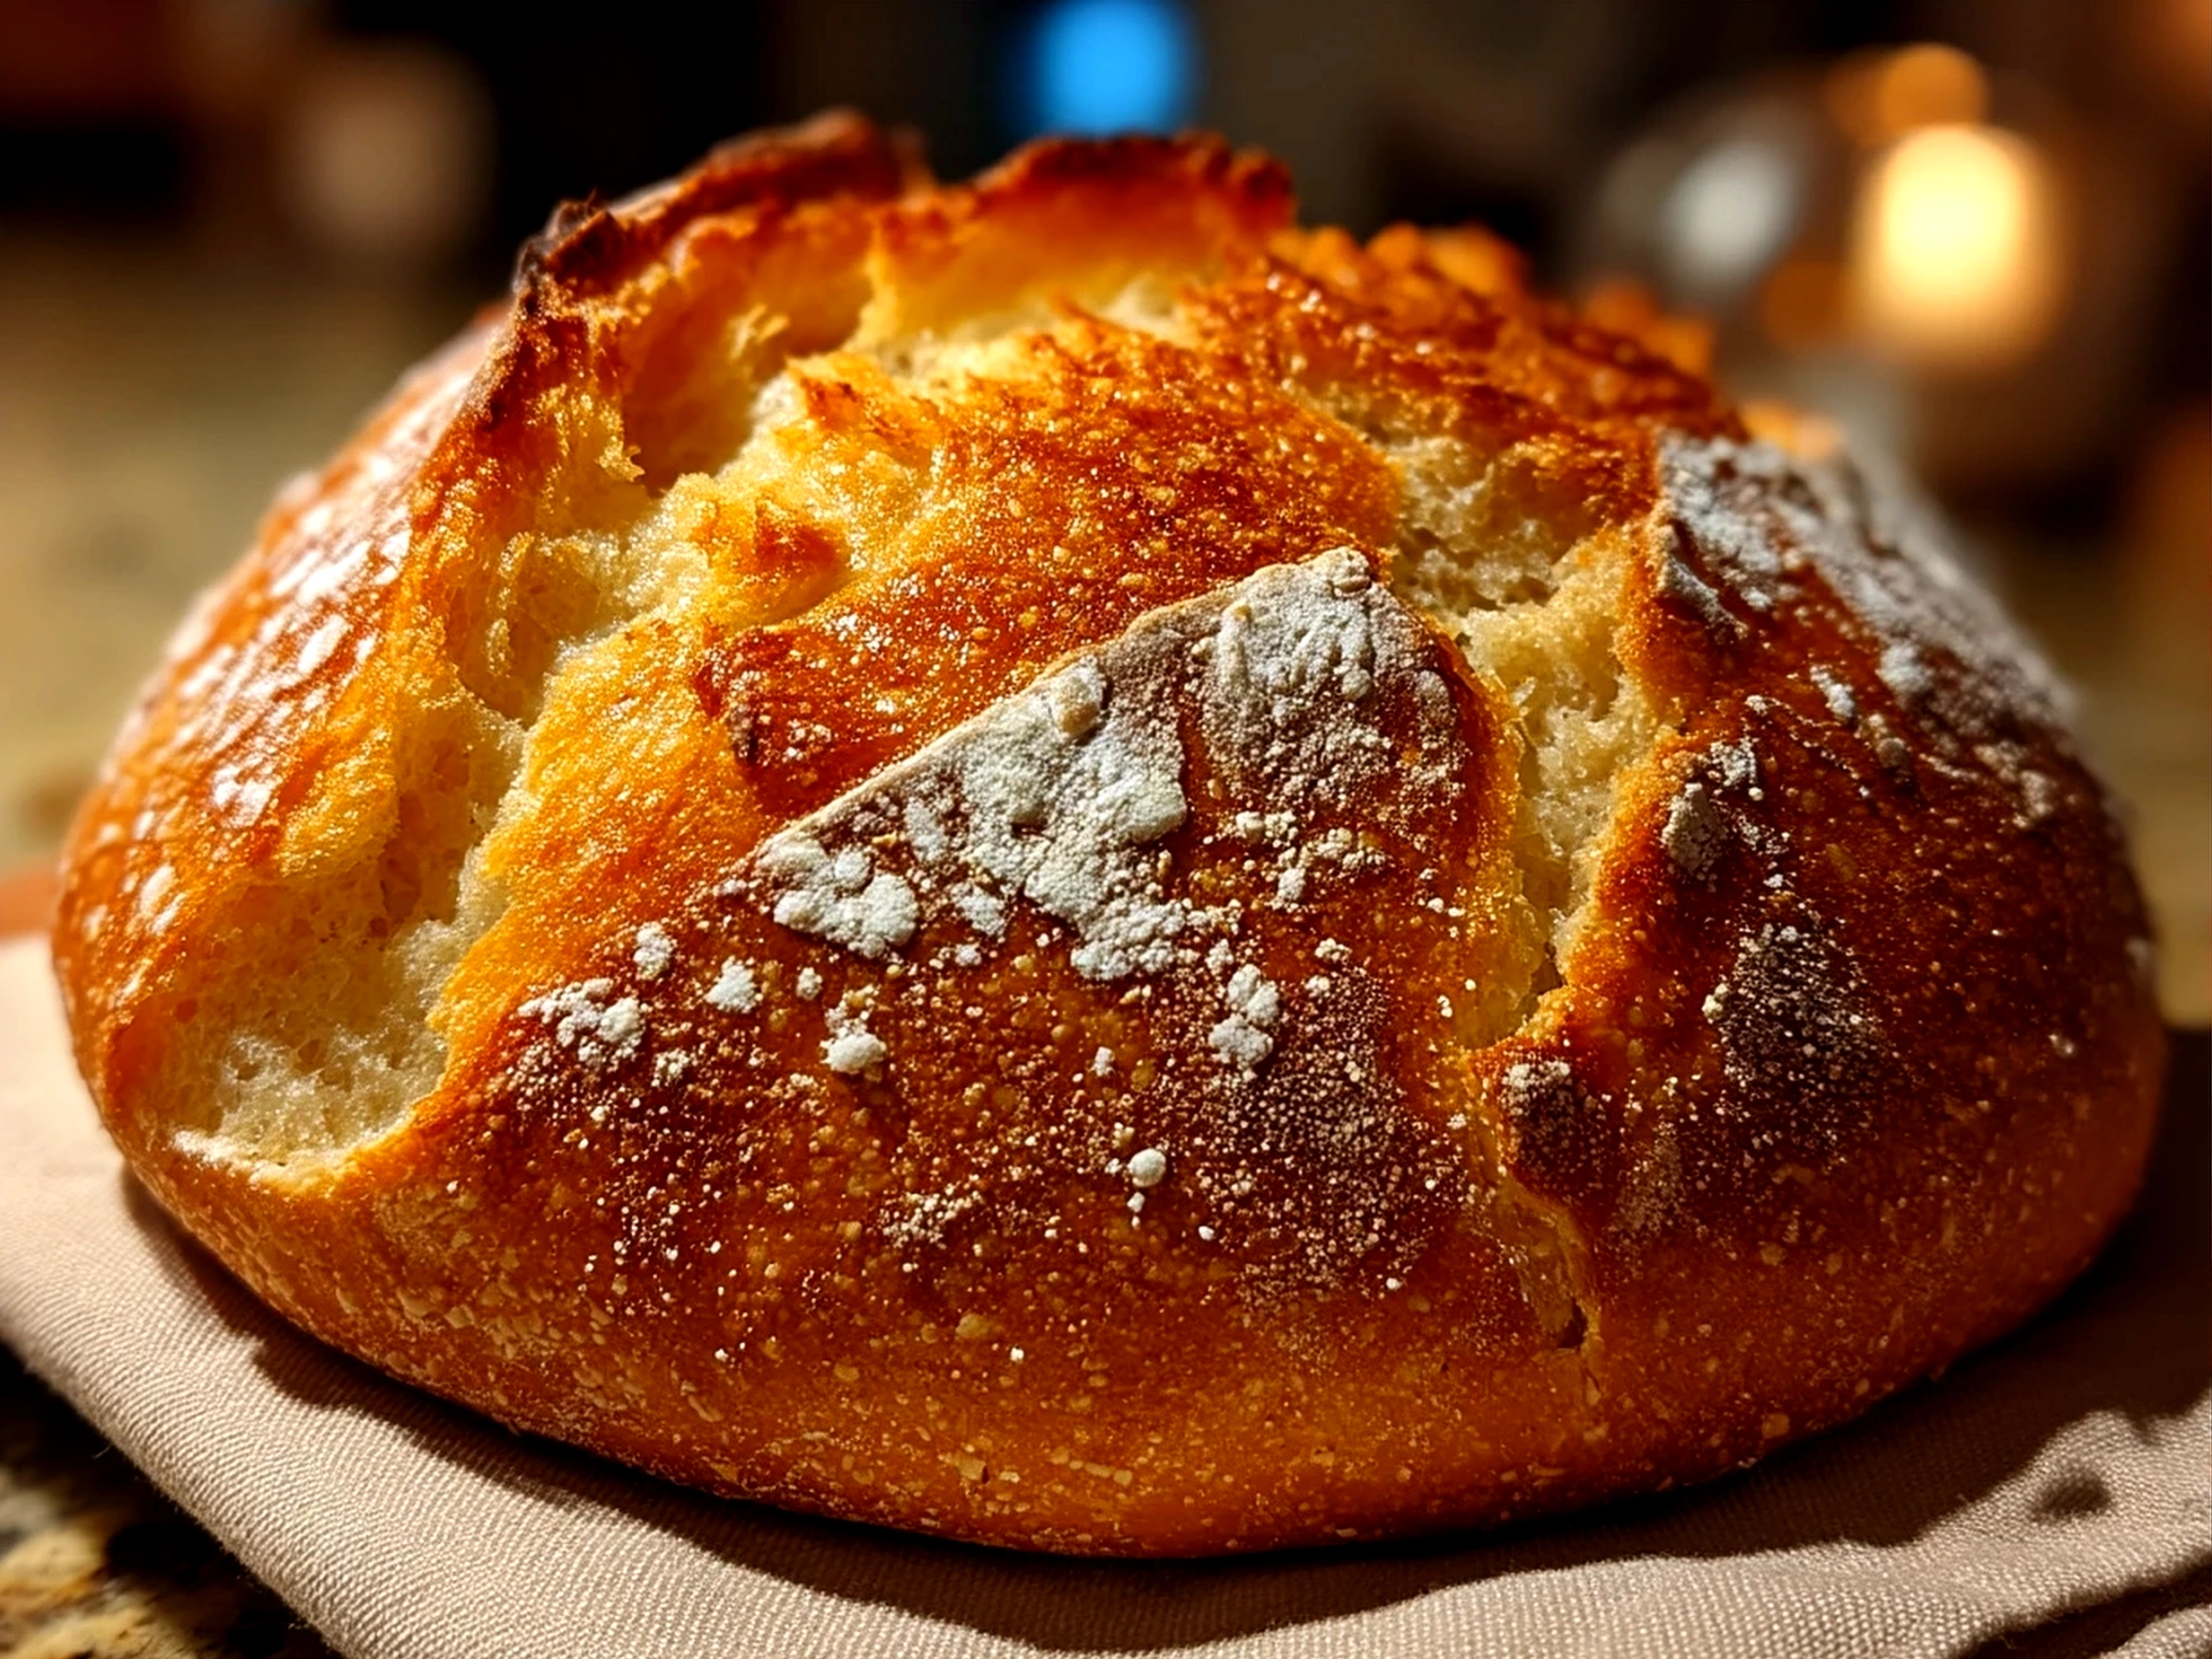
Preheat your oven to 400°F (200°C). Slash the top of your loaf with a sharp knife for that classic artisan bread look. Bake for 25 to 30 minutes until the crust is golden and the loaf sounds hollow when tapped at the bottom.
9. Cool and Enjoy
Let your Homemade Bread cool completely on a wire rack before slicing. This step firms up the crumb for perfect slices.
From start to finish, this Homemade Bread takes about 3 hours, but most of that is hands-off rising time. While your bread is baking, this is a great moment to tidy up your kitchen or prepare a simple side dish. Your kitchen will smell amazing as the crust browns, and your family will be ready to dig in.
I used to rush through kneading bread, but taking your time here really makes a difference in the texture. If your bread looks a bit different each time, know that’s normal—bread baking is part science, part feel.
Not ready to shape loaves? Try a no-knead artisan bread for the easiest Homemade Bread option. If you want to peek at a great simple method, check out the 4-Ingredient Homemade Bread Recipe – Sally’s Baking. It’s a smart shortcut for busy cooks.
How to Serve & Enjoy:
This Homemade Bread is a true crowd-pleaser fresh from the oven. I love serving it just warm with butter or my favorite herb olive oil. It’s perfect alongside soups, stews, or a fresh salad for a complete meal.
For company or a cozy night in, slice it and serve with a cheese board featuring mild and sharp cheeses. Friends love dipping it in homemade spinach dip or tomato bruschetta for party snacks.
Leftover Homemade Bread? No problem. Toast slices and top with honey and cinnamon, or make simple sandwiches for lunchboxes. You can even cube it, toss with olive oil and herbs, then bake for quick homemade croutons.
Seasonal variations really shine here—adding herbs like rosemary or thyme to the dough adds a lovely aroma for fall or winter dinners. During holiday meals, I sometimes swap out some flour for whole wheat or rye to give the bread a nutty flavor that’s just right with roasted meats.
This bread goes beyond just weeknight dinners or Sunday meals. It works wonderfully for breakfast toast or a quick snack, making it a versatile favorite.
If you love this Homemade Bread, your family might also enjoy the Cranberry Raisin Walnut Cinnamon Artisan Bread for a sweet twist or the savory Pumpkin Cornbread with Cinnamon Honey Butter if you’re trying new bread baking flavors in your kitchen.
Your Questions Answered:
Can I make this Homemade Bread ahead of time?
Yes! You can prepare the dough the night before, let it rise slowly in the fridge overnight, then shape and bake it the next day. It’s a great way to spread out the work.
What’s a good substitute for olive oil in this Homemade Bread?
You can use melted butter or simply skip the fat. Olive oil adds softness, but the bread will still turn out well without it.
How do I adjust this Homemade Bread recipe for fewer people?
Cutting the recipe in half works nicely, but smaller doughs might rise faster. Keep an eye on the dough so it doesn’t overproof.
Why does bread sometimes turn out dense?
Usually, it comes down to either kneading bread not enough or over-proofing. Kneading develops gluten, and proofing lets the dough rest and rise. Take your time on these steps.
Do I need a bread machine to make this?
No bread machine needed! Hand kneading and yeast fermentation work beautifully, giving you a nice crust and crumb. If curious, you can read why some say bread machines make inferior bread on Why do bread machines make inferior bread? : r/Breadit.
My bread crust is too hard—how can I fix that?
Try reducing oven temperature slightly or covering the bread loosely with foil halfway through baking. Adding moisture like a small pan with water in the oven during baking can help too.
Can I add seeds or nuts to this Homemade Bread?
Absolutely! Chopped walnuts, flaxseeds, or sunflower seeds fold right into the dough before the first rise for a flavorful twist.
Final Thoughts:
This Homemade Bread has become a favorite in my recipe collection for its reliable results and comforting flavor. It holds a special place because it brings my family together, whether it’s a casual dinner or holiday gathering.
My Best Homemade Bread Tips:
1. Don’t rush the yeast fermentation. Waiting for the dough to double is crucial for good flavor.
2. Knead patiently to develop gluten. This improves texture and rise.
3. Cool completely before slicing. It stops the crumb from getting gummy.
I’ve tested variations with whole wheat, added rosemary, and swapped honey for sugar. The classic loaf with olive oil is requested most at my house, but the herb versions are fun for guests.
Home bread baking is a skill, but it can fit into everyday cooking with a little practice—and the satisfaction beats store-bought every time. I hope you’ll love how easy and delicious your Homemade Bread will be, turning simple ingredients into something that fills your kitchen with warmth.
For a no-fuss alternative and to stretch your bread baking projects, try the Amazing Artisan Bread for 40 Cents a Loaf – No Kneading, No … recipe that you can make even on busy days.
Here’s to making Homemade Bread a staple in your home, something you can count on and share with the people who matter most. Happy baking, cooking friends!
Homemade Bread

This homemade bread features a soft, fluffy texture with a crisp crust, perfect for sandwiches or as a side to any meal.
- Prep Time: 15 minutes
- Cook Time: 35 minutes
- Total Time: 1 hour 45 minutes
- Yield: 1 loaf (about 10 slices)
- Category: Dinner
- Method: Baked
- Cuisine: American
Ingredients
- 4 cups all-purpose flour
- 1 packet active dry yeast (2 1/4 tsp)
- 1 1/2 cups warm water (110°F)
- 2 tbsp sugar
- 2 tbsp olive oil
- 1 1/2 tsp salt
Instructions
- In a small bowl, dissolve sugar and yeast in warm water. Let sit for 5-10 minutes until frothy.
- In a large bowl, combine flour and salt. Make a well in the center and add the yeast mixture and olive oil.
- Mix until a shaggy dough forms, then knead on a floured surface for 8-10 minutes until smooth and elastic.
- Place dough in a greased bowl, cover, and let rise in a warm place for 1-1.5 hours, or until doubled in size.
- Punch down dough, shape into a loaf, and place in a greased loaf pan.
- Cover and let rise for another 30-45 minutes.
- Preheat oven to 375°F (190°C).
- Bake for 30-35 minutes, or until the bread is golden brown and sounds hollow when tapped.
- Remove from oven and cool on a wire rack before slicing.
Notes
For a richer flavor, brush the top with melted butter right after baking. You can also add herbs or garlic for a savory twist.