
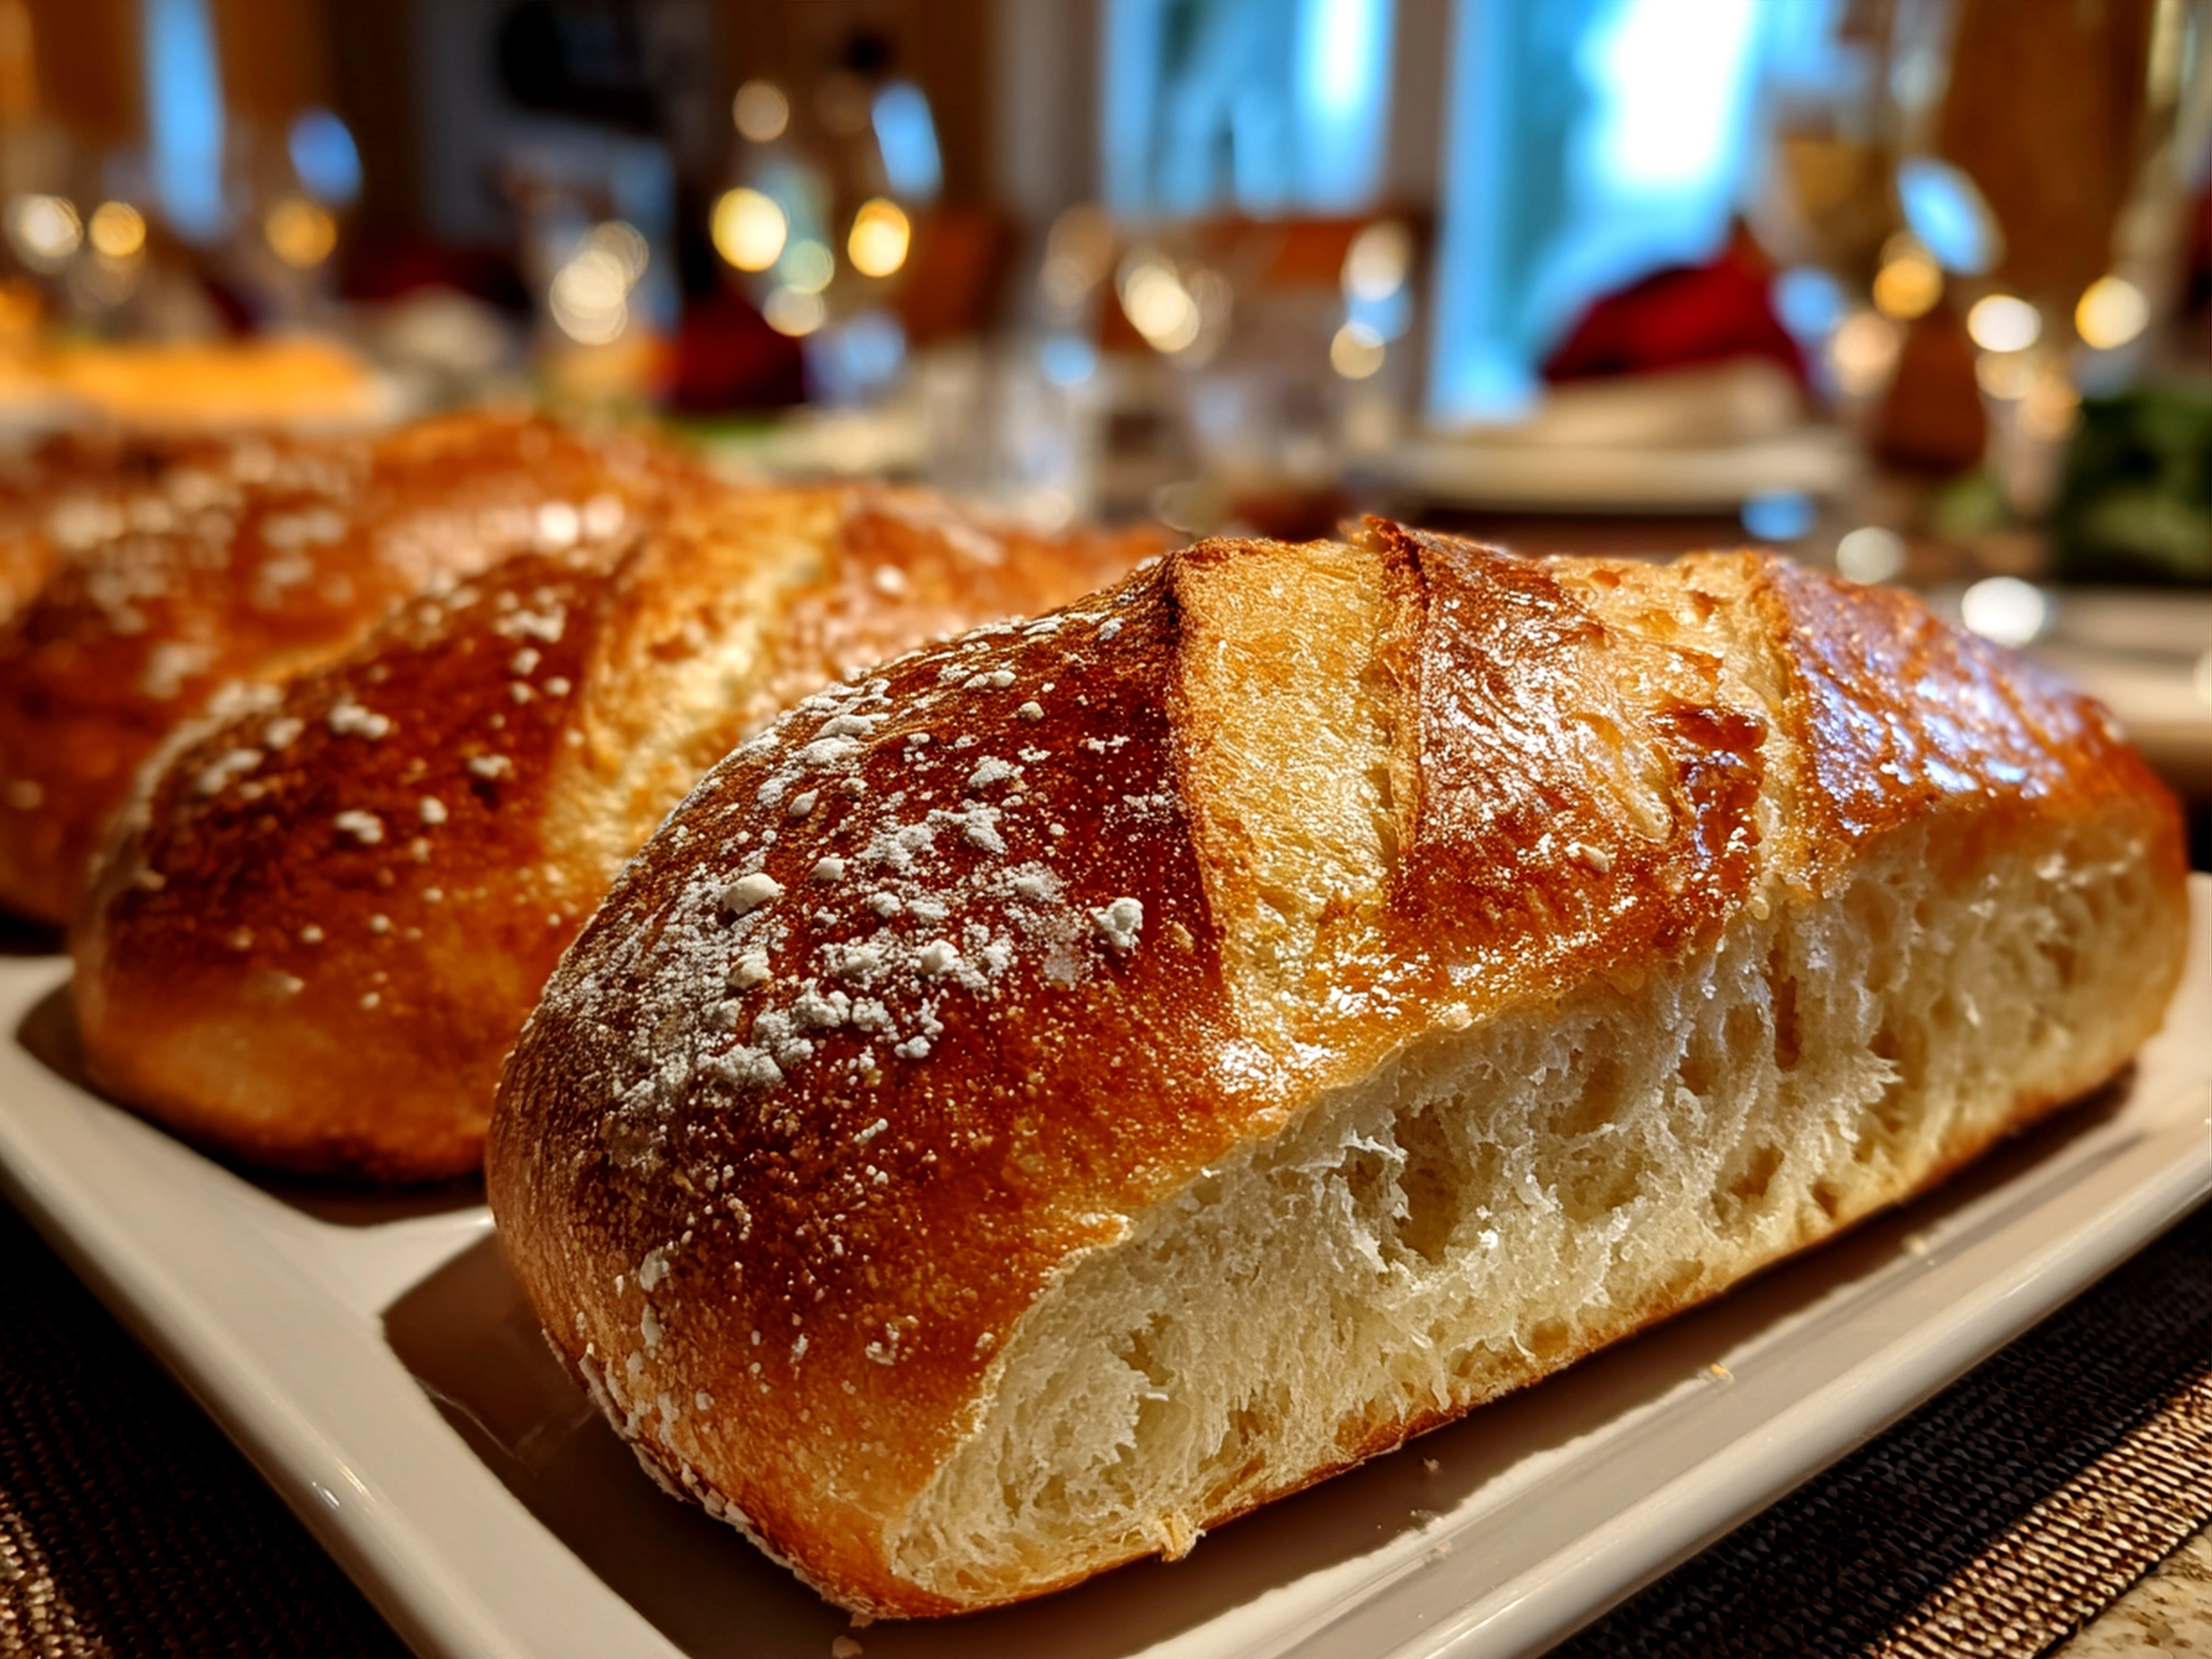
When it comes to reliable baking, nothing beats a Homemade Italian Bread that you can whip up on a weeknight or save for a special gathering. One evening a few months back, I needed something fresh and filling to round out dinner after a busy workday. This Homemade Italian Bread came to the rescue with its crisp crust and soft, airy inside. It was exactly what dinner asked for—a simple loaf that felt extra comforting without any fuss. Cooking friends, this bread fits perfectly into everyday meals because it uses straightforward ingredients and delivers every time. I’ve come to rely on this recipe when I want a fresh, warm loaf without waiting days or dealing with tricky techniques.
The beauty of this Homemade Italian Bread is how versatile it is in the kitchen. Whether you’re pairing it with a stew, using it to mop up pasta sauce, or just slicing it for sandwiches, it’s a go-to comfort. Plus, the process of making it is satisfying—you get to work with homemade bread dough that responds well and yields that classic Italian loaf texture we all love.
If you’re new to Italian bread baking or just looking for a dependable recipe that won’t let you down, you’re in the right place. This Homemade Italian Bread recipe is one I turn to again and again. It’s made with everyday pantry staples, and you’ll find that the scent of baking bread warms your home while the taste keeps everyone coming back for more. Let’s jump in, and I’m excited to share this dependable favorite with you.
When you’re here for a solid classic Italian loaf, I’d also recommend checking out some other great recipes like Amanda’s dependable Italian Bread Recipe for a different spin on texture and flavor or this fuss-free Artisan Bread at Home method from Emma Fontanella (The Easiest No Knead Bread Recipe). Both are great companions to this recipe, especially if you enjoy working with homemade bread dough.
What You’ll Need:
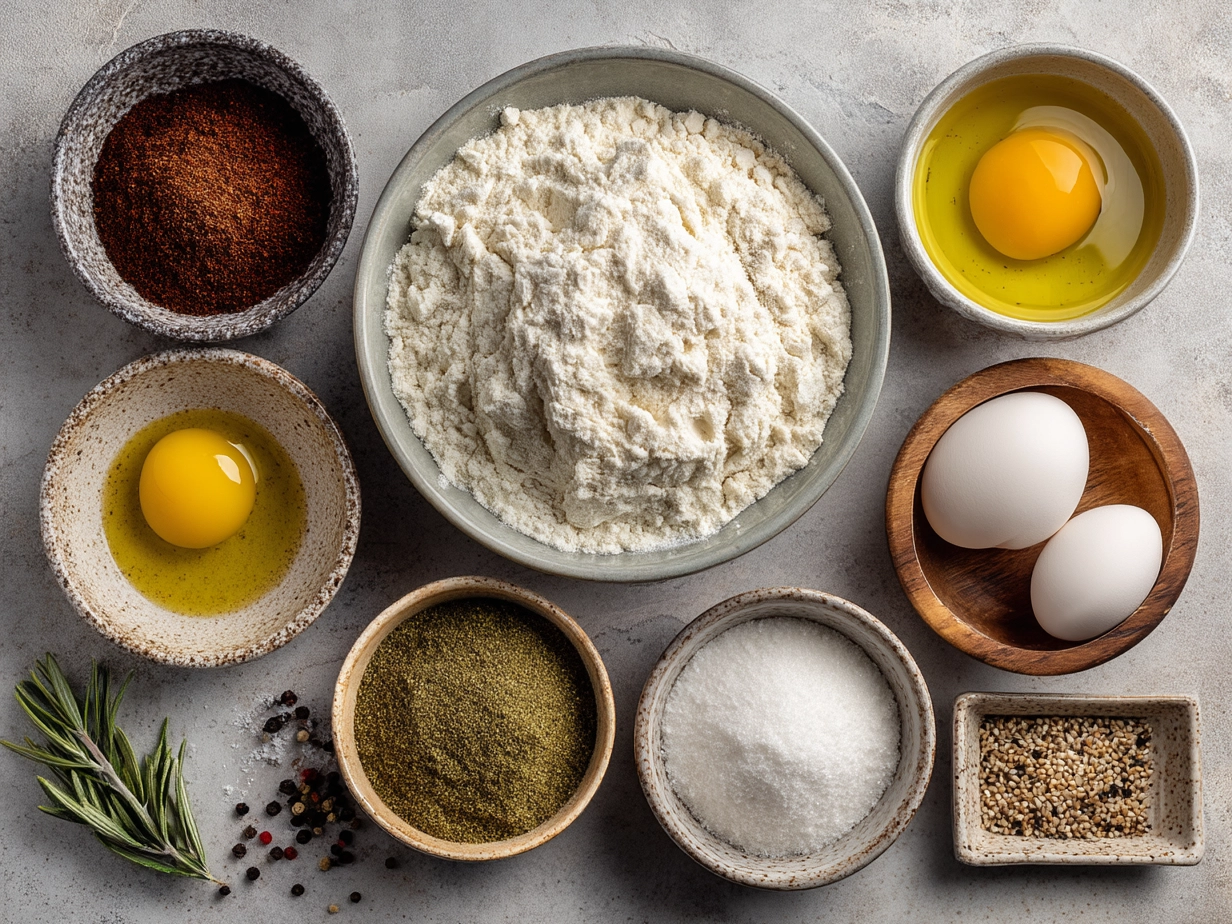
- 4 cups all-purpose flour – This is the base of our Homemade Italian Bread. If you don’t have all-purpose, bread flour works too and gives a better chew.
- 1 ½ teaspoons salt – Balances flavor in the classic Italian loaf.
- 1 tablespoon sugar – Helps feed the yeast for a nice rise.
- 1 packet (2 ¼ teaspoons) active dry yeast – Essential for that yeast magic. No worry if you have instant yeast; use the same amount.
- 1 ½ cups warm water (about 110°F) – Warmth wakes up the yeast. Too hot and it might kill it, so keep it comfortable.
- 2 tablespoons olive oil – Adds moisture and a subtle richness.
This Homemade Italian Bread recipe keeps costs reasonable because the ingredients are pantry basics. You’ll find everything readily available in the regular grocery aisle, no specialty shopping required. I like adding a bit more olive oil when I want a softer crust and richer flavor. If you’re short on time, you can mix and knead the homemade bread dough in a stand mixer with a dough hook—that’s a neat prep shortcut that still yields wonderful results.
If you happen to have extra bread, wrap it well and store it in a plastic bag at room temperature for up to two days. For longer storage, slice and freeze it for up to a month—perfect for pulling out when you need fresh bread fast.
Let’s Make It Together:
- Activate the yeast: Pour the warm water into a large mixing bowl and sprinkle the sugar and yeast on top. Let it sit for 5-10 minutes until foamy. This shows the yeast is alive and ready to work.
- Mix ingredients: Add the olive oil, salt, and about 3 ½ cups of flour to the yeast mixture. Use a wooden spoon or your hand to combine. Once the dough starts to form, add additional flour as needed until the dough is soft but not sticky.
- Knead the dough: Turn the dough onto a floured surface and knead for about 8-10 minutes. This step is crucial; I used to rush it and ended up with dense bread. Take your time to develop that gluten for a classic Italian loaf texture.
- First rise: Place the dough in a lightly oiled bowl and cover it with a clean kitchen towel or plastic wrap. Let it rise in a warm spot for about 1 to 1 ½ hours until doubled in size.
- Shape the loaf: Punch down the dough gently and shape it into a long oval or classic boule. Place it on a parchment-lined baking sheet or in a greased loaf pan.
- Second rise: Cover again and let it rise for 30-45 minutes. Your Homemade Italian Bread is almost ready, and this step ensures a light, airy crumb.
- Preheat the oven: Set your oven to 425°F. Score the top of your loaf with a sharp knife—just a few slashes to help it expand and give that artisan look.
- Bake: Place the bread in the oven and bake for 25-30 minutes. It’s done when the crust is golden brown and sounds hollow when tapped. Your kitchen will smell amazing when your Homemade Italian Bread is ready.
- Cool: Let it cool on a wire rack before slicing. This rest time keeps the crumb from getting mushy and is worth the wait.
From start to finish, this Homemade Italian Bread takes about 3 hours, including rising and baking. While it bakes, you can set the table or even whip up a simple salad. Don’t worry if your Homemade Italian Bread looks a little rustic—that’s the charm of artisan bread at home.
If you want to mix things up, try adding dried herbs during the kneading step or a sprinkle of garlic powder for a flavor twist that my family loves. If you’d like to see a slightly different approach, the classic Italian bread baking style is nicely broken down in Girl Versus Dough’s recipe, which I often check for technique inspiration.
How to Serve & Enjoy:

This Homemade Italian Bread pairs wonderfully with so many dishes. For a cozy dinner, I love serving it alongside a bowl of rich tomato soup or Italian-inspired meals like keto Italian meatballs with marinara sauce.
When guests are over, slicing the bread and serving it with a simple olive oil and balsamic dipping sauce is always a crowd-pleaser. It also shines when toasted for sandwiches or used to scoop up garlicky stews and fresh salads.
For leftover ideas, try turning the bread into croutons or breadcrumbs for topping casseroles or pasta bakes. I’ve found that adding it to a rustic bread salad with seasonal veggies makes a great way to stretch a loaf and enjoy some fresh flavors.
Seasonally, this bread feels perfect paired with warm dishes in fall and winter but is just as lovely at a spring picnic or summer barbecue. I once paired it with a pumpkin cornbread with cinnamon honey butter for a comfort meal that everyone enjoyed (Pumpkin Cornbread with Cinnamon Honey Butter).
Friends and family often tell me this Homemade Italian Bread feels like a “little slice of home” at the table. That’s exactly why it stays on repeat in my kitchen.
Your Questions Answered:
Can I make this Homemade Italian Bread ahead of time?
Absolutely! The dough can be prepared up to a day ahead. Simply punch down after the first rise, shape into a loaf, wrap tightly, and refrigerate overnight. Let it come to room temperature before the second rise and baking.
What’s a good substitute for sugar in this Homemade Italian Bread?
Honey or maple syrup works well as an easy swap. Just use about 2 teaspoons instead of the tablespoon of sugar to feed the yeast.
How do I adjust this Homemade Italian Bread for more or fewer people?
The recipe scales nicely up or down. To make a smaller loaf, halve the ingredients and watch the rising times closely—it may be quicker.
What if I don’t have olive oil?
You can substitute vegetable or canola oil, though olive oil adds more flavor and a better crust.
Can I make this dough without a stand mixer?
Yes! I always mix by hand using a wooden spoon and my hands for kneading. It’s just a bit of muscle work but totally doable.
Why is my loaf dense instead of airy?
Most of the time, rushing the kneading or rising steps is why. Take your time, and make sure your yeast is fresh and the water temperature is right.
How long can I store the bread?
Fresh Homemade Italian Bread lasts 1-2 days at room temp. For longer life, slice and freeze, then toast slices as needed.
If you want another approachable Italian bread recipe, Amanda’s site has a reliable quick recipe that’s perfect for busy days (Italian Bread Recipe – Amanda’s Cookin’). This kind of resource complements the classic method well.
Final Thoughts:
This Homemade Italian Bread holds a special place in my recipe collection for its easy ingredients and reliable texture. It strikes just the right balance of crust and crumb, which means everyone from kids to adults asks for it again. When you make this bread your own, it can become a kitchen staple you trust for a warm, comforting loaf anytime.
My Best Homemade Italian Bread Tips:
- Take your time with kneading—it makes a big difference in texture.
- Use fresh yeast and proper water temperature for a good rise.
- Don’t skip the second rise; it lightens the crumb beautifully.
I’ve experimented with several variations, including adding rosemary, a garlic twist, and a sprinkle of sesame seeds on top. Out of all, the classic version gets the most requests around here because it pairs well with almost any meal.
I hope you find joy in baking and sharing this Homemade Italian Bread as much as I do. It’s a recipe that’s practical for any home cook—from beginner to seasoned baker. Plus, baking bread is always a good excuse to fill the home with cozy warmth. Give it a try and bring a little Italian comfort to your table.
If you loved this, your family might also enjoy the Italian Love Cake for a sweet finish to meals.
Happy baking, cooking friends! Your Homemade Italian Bread journey starts here.
Homemade Italian Bread
This Homemade Italian Bread features a crisp golden crust and a soft, airy interior, perfect for sandwiches or dipping in olive oil.
- Prep Time: 15 minutes
- Cook Time: 30 minutes
- Total Time: 2 hours
- Yield: 1 loaf (8 servings)
- Category: Dinner
- Method: Baked
- Cuisine: Italian
Ingredients
- 4 cups all-purpose flour
- 1 packet (2 1/4 tsp) active dry yeast
- 1 1/2 cups warm water (110°F)
- 2 tsp sugar
- 2 tsp salt
- 2 tbsp olive oil
Instructions
- In a large bowl, dissolve sugar in warm water and sprinkle yeast on top. Let sit for 5–10 minutes until foamy.
- Add flour, salt, and olive oil to the yeast mixture. Stir until a dough forms.
- Turn dough onto a floured surface and knead for about 8–10 minutes until smooth and elastic.
- Place dough in a lightly oiled bowl, cover with a damp cloth, and let rise in a warm place for 1–1.5 hours or until doubled in size.
- Punch down the dough and shape into a loaf. Place on a baking sheet lined with parchment paper.
- Cover and let rise again for 30–45 minutes.
- Preheat oven to 400°F (200°C). Slash the top of the loaf with a sharp knife to vent.
- Bake for 25–30 minutes until golden brown and hollow sounding when tapped.
- Cool on a wire rack before slicing.
Notes
For extra flavor, brush the loaf with garlic butter after baking or sprinkle sesame seeds on top before the final rise.